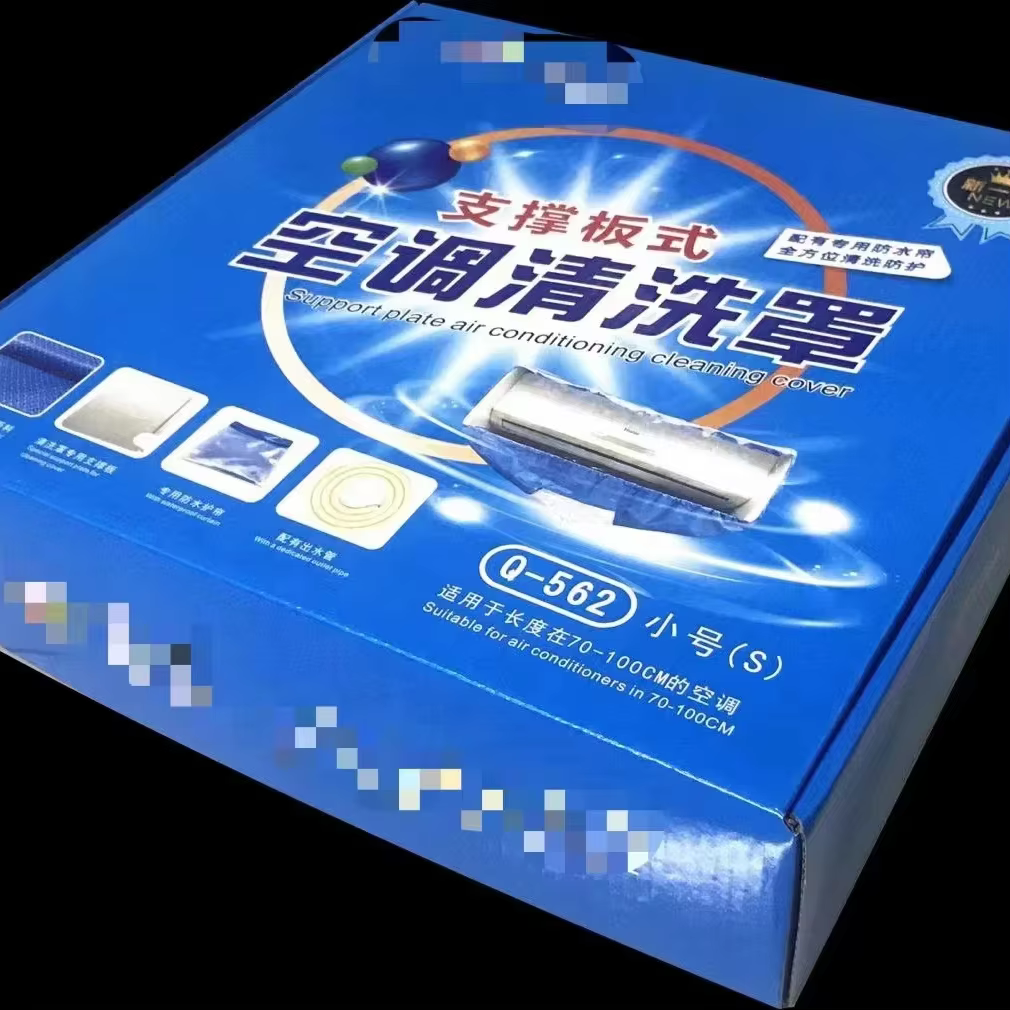
Getting an AC cleaning cover that is the right size is useful when you want to avoid allowing an air conditioner to collect dust, stones, or moisture during cover the unit or while cleaning & also during the storage period. An air conditioner cover should be the right size. If it is small, it will not cover the unit properly. If it is too loose, it may slip off or collect additional dirt. To avoid these two options, you should measure the AC properly. This document is going to help you measure it properly. This document will help you measure the AC properly. This document is going to walk you to the step-by-step process to measure the AC the right way.
Identify Your AC Unit Type
First of all, what type of AC unit using? Different types of ACs require varied measurement approaches. For instance, there are window ACs, split AC indoor and outdoor units, and portable ACs. Window ACs are set in windows and have a compact, boxy structure. Split AC indoor units are mounted on a wall, while outdoor units are larger and placed outside. Portable ACs are movable and have a rectangular shape. Each type has different set of dimensions, which impacts how the cover is supposed to fit the unit, so identifying this is vital for accurate measuring.
Gather Necessary Measuring Tools
The correct procedure for taking measurements starts with gathering the right tools. Ensure you have a measuring tape (preferably one which has inches and centimeters on either side for ease of use), a writing instrument and a sheet of paper for the noting of the measurements. A step stool might be useful, if the AC unit is large and/or mounted high, for safely reaching all parts. Avoid using tools such as a ruler, as it is too small for most AC units, which can lead to faulty measurements. A cloth measuring tape is perfect for this, as it can conform to the curves and edges of the unit easily.
Measure the Key Dimensions
An AC unit’s height, width, and depth are its key three dimensions to measure. The guidelines differ from type to type. For window AC units, height is the distance from the bottom to the top of the unit at the control panel. The width is the distance from one touchable unit side edge to the other while the depth is the distance from the face to the back that extends to the window. For split AC indoor wall mounted units, height is the distance from the bottom edge of the casing to the top, width is the distance across the front face, and depth is the distance from the front of the grille to the back of the mounting bracket. For the outdoor of split units, height is the measurement from the ground to the top of the unit. Width is the measurement from side to side while depth is from the front where the fan is to the back. For portable AC units, height is the distance from the base to the recover of the exhaust hose, width is the measurement across the front, and depth is from the front to back. Mark each measurement to the nearest half inch or half centimeter to ensure the cover has enough room.
Account for Protrusions and Accessories
It is important to take into account various pieces of hardware such as exhaust hoses, control knobs, control buttons, buttons, mounting brackets, electrical cords, and grilles to properly gauge the size of your AC Unit. A window AC Unit has a control panel that seems to protrude while Split Indoors often have grilles which protrude. In your measurements, these protrusions must be included. As an example, if the control knob of a window AC Unit increases the depth by an additional half inch, then your depth measurement must increase by half an inch as well. On the other hand, with Portable AC Units, the exhaust hoses can be removed, and as a result, you are freed from measuring. If the exhaust hose is fixed, then you must add the width or depth of the exhaust hose when measuring the portable exhaust. Not measuring the protruding portions will lead to a cover that is too tight along with improper fittings on the AC Unit.
Consider the Cover’s Design and Fit Style
The cover's design will also have an impact on the dimensions you require. Would you like the cover to be tight or have looseness around the unit? A snug fit will undergo the least movement however it will also require accurate measurements. A loose fit on the other hand will be preferable during the cover on-off process but shouldn’t be overly loose. Also think about whether the cover has elastic hems, drawstrings or Velcro closures. With elastic hems, you can vary the size a little bit and it will still fit the cover size. Drawstrings give you the loose cover and the draw fit if the rest of the cover is a bit oversized. If the design of the cover is fully enclosing the unit as in outdoor units, the height, width and depth measurements have to be taken to include any legs or stands.
Check Manufacturer Guidelines (If Available)
Sometimes when you're the owner of an AC unit, one of the first documents included will be a manual of some kind. These are valuable and one of the aspects you might want to pay attention to is if there are manufacturer specific AC cover sizes. Often times the manufacturer might have suggestions for particular dimensions for custom covers or even have specific cover sizes they suggest. This is particularly useful if you have an AC unit that is somewhat rare or not very common with its shape and size. If you don not have the manual, pull up the manufacturer’s website and lookup the model number of the unit for the details. Following the manufacturers suggestions is the best approach, and can save your time in the long run, while ensuring the cover is both functional and protective.
Confirm Measurements and Adjust as Needed
Once you’ve taken all measurements and considered protrusions, design, and manufacturer guidelines, it’s time to confirm your numbers. Double check each measurement to avoid mistakes—even a small error can lead to a poorly fitting cover. If you’re unsure about a measurement, take it again. For example, if you measured the width of a split indoor unit as 24 inches, measure it again to make sure it’s not 23.5 or 24.5 inches. If you’re ordering the cover from a custom manufacturer, share all your measurements and details about the unit type and protrusions. Many manufacturers can provide guidance on adjusting measurements based on their cover designs. If necessary, add a small buffer (usually 0.5 to 1 inch) to each dimension to ensure the cover fits easily without being too loose.


 Hot News