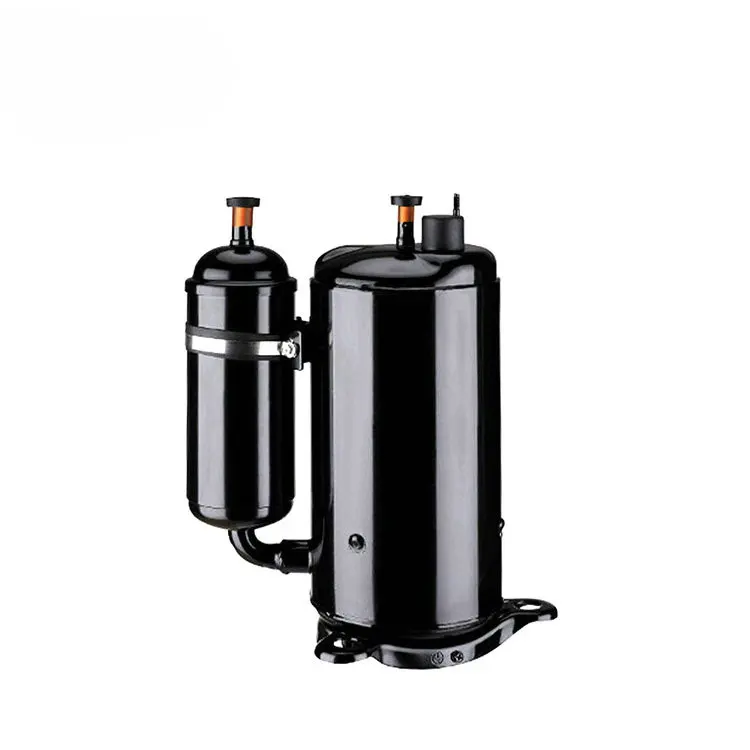
Refrigerator condensers work by turning hot refrigerant gas back into liquid form through heat dissipation, which marks the second step in how refrigerators keep things cold. Most condensers sit either behind or underneath the fridge itself, and they're usually shaped in coils to give them plenty of surface area for swapping out heat with the surrounding air. When these components work properly, they maintain just the right pressure so refrigerant can move around effectively. Without this balance, cooling gets inconsistent at best. According to Skillcat's research from 2023, keeping condensers clear of dust and debris makes all the difference in performance over time.
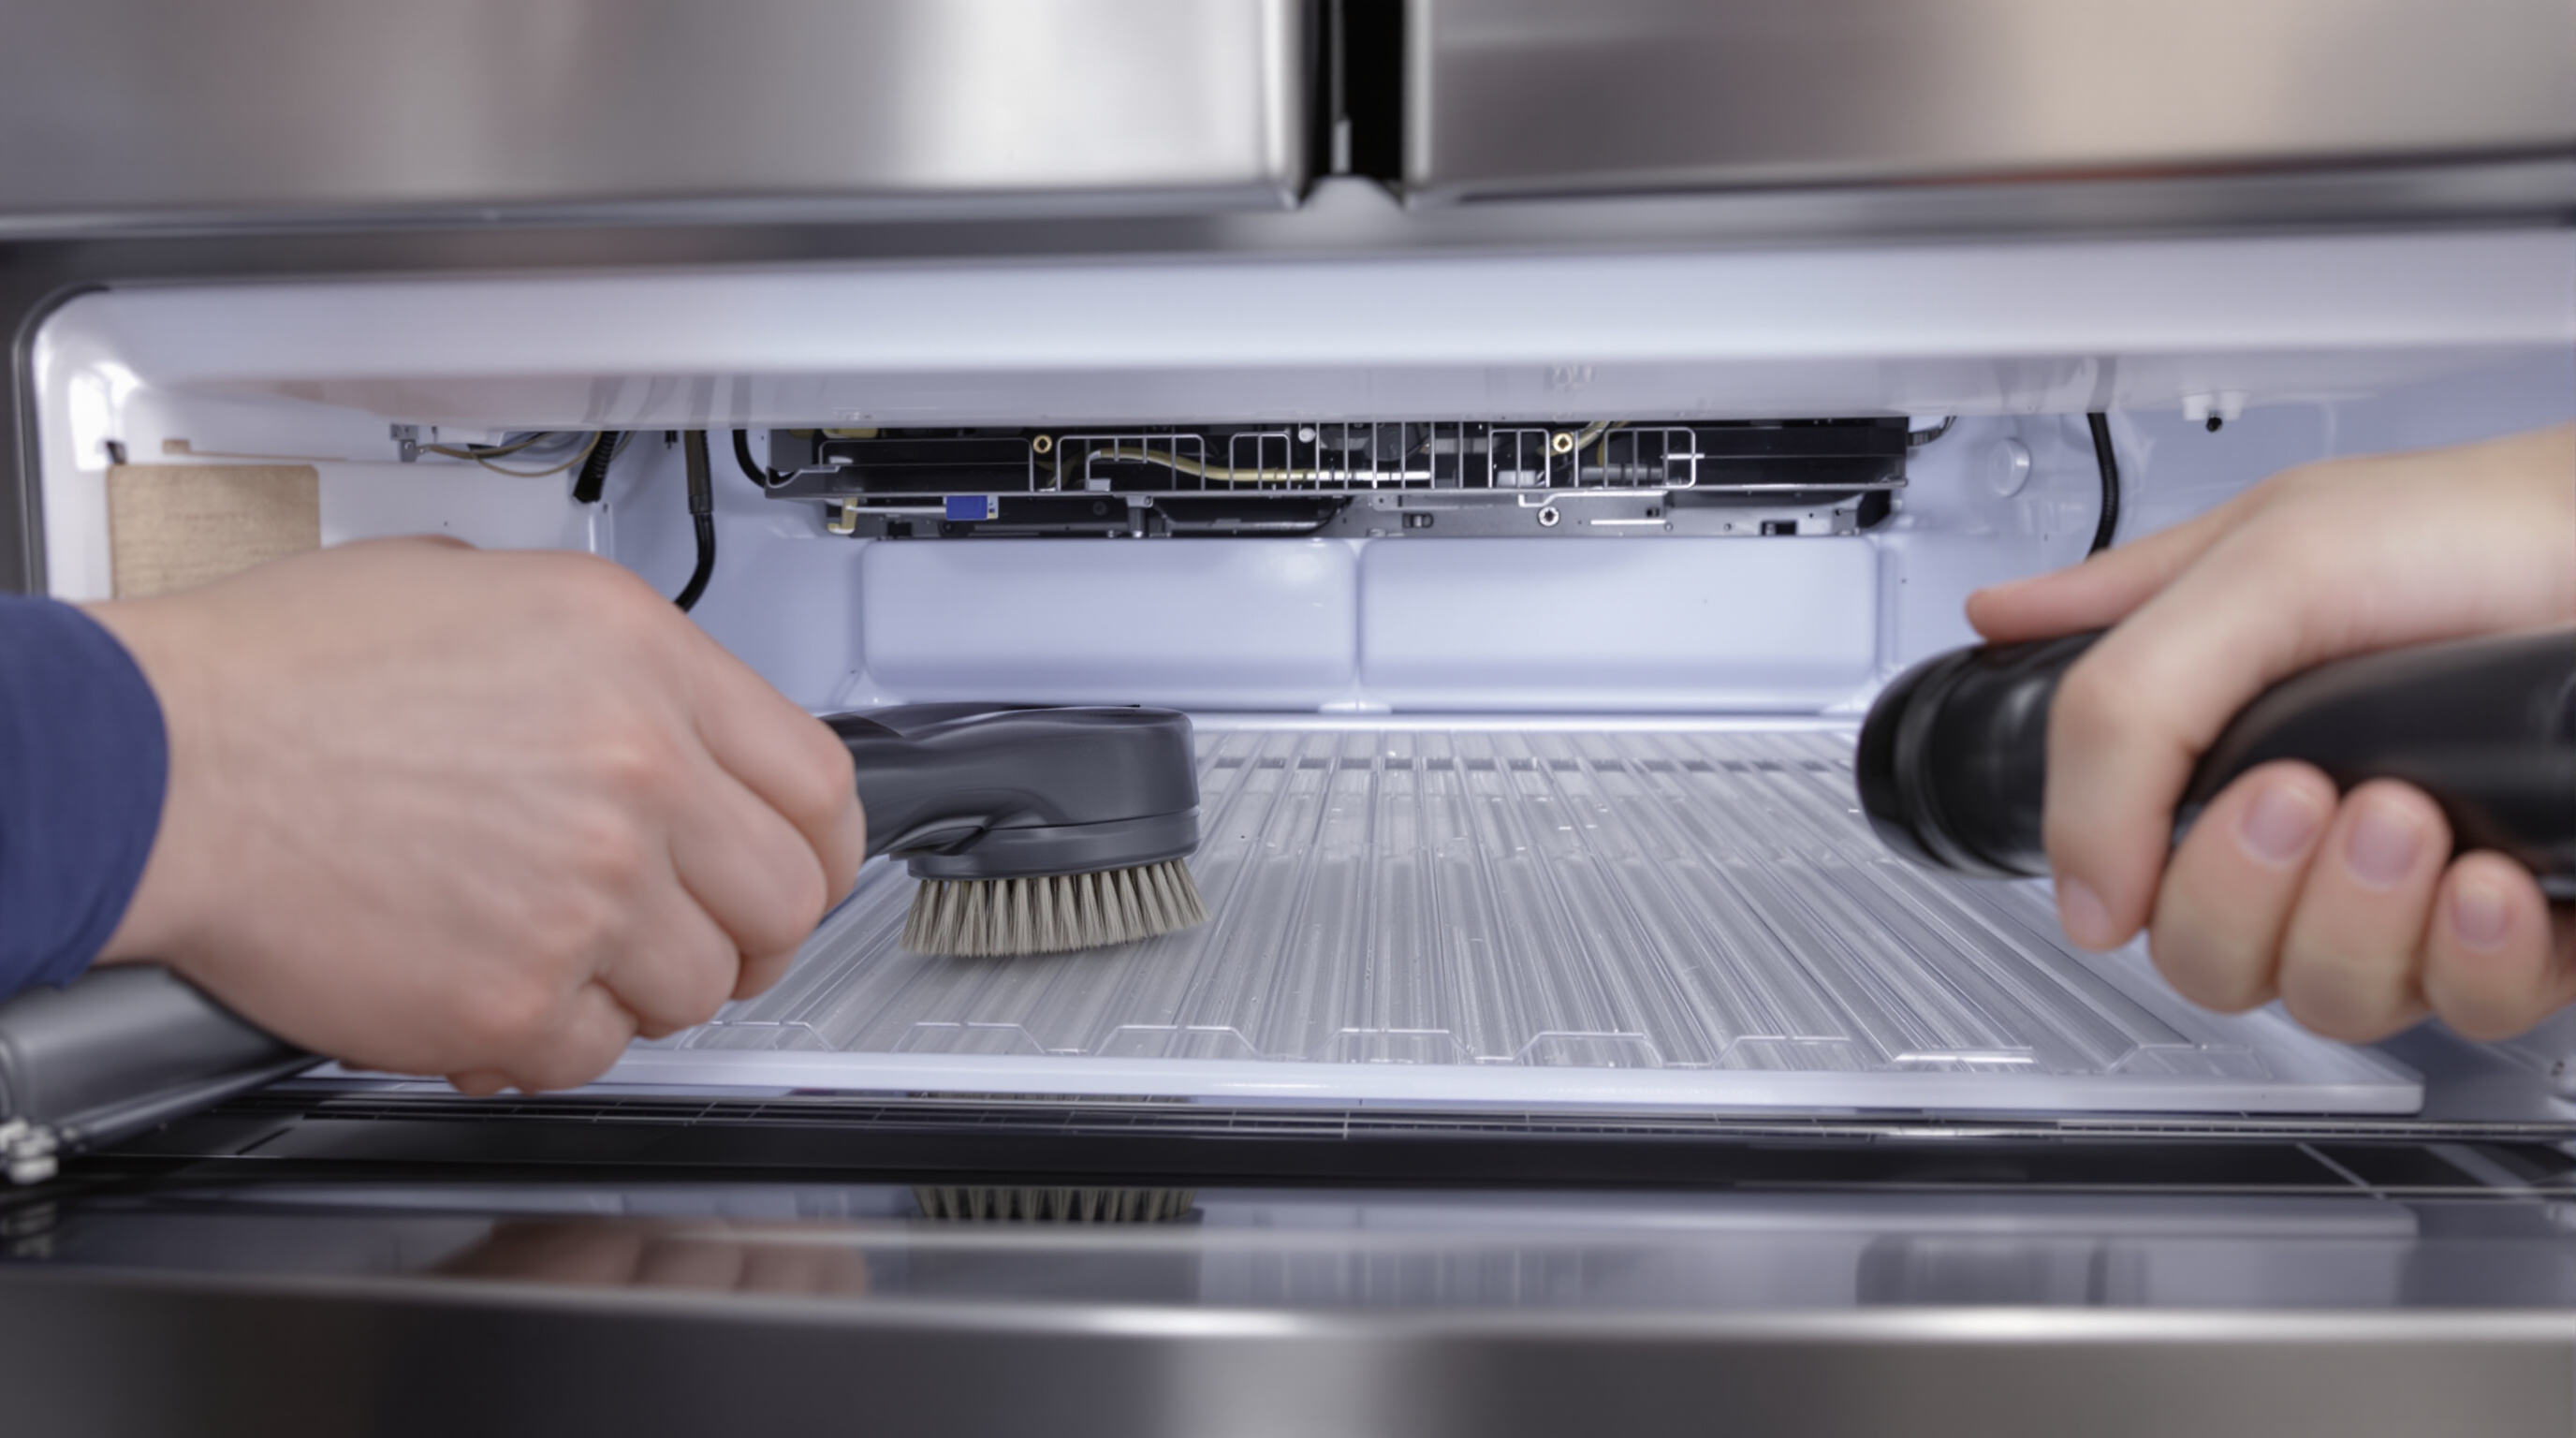
Annual coil maintenance improves efficiency by 30–50% (Ponemon 2023). To clean:
Regular cleaning prevents overheating and reduces compressor strain.
A commercial kitchen experienced 12% higher energy bills and inconsistent cooling. Inspection revealed 0.5" of dust buildup on the condenser coils—equivalent to a 40% reduction in airflow. After cleaning:
This highlights the direct impact of coil maintenance on performance and cost efficiency.
Electrical faults account for 42% of compressor failures, according to HVAC maintenance reports. Mechanical causes include worn piston rings, insufficient lubrication, and voltage fluctuations. Overheating due to dirty condenser coils forces longer run cycles, accelerating wear and shortening compressor life.
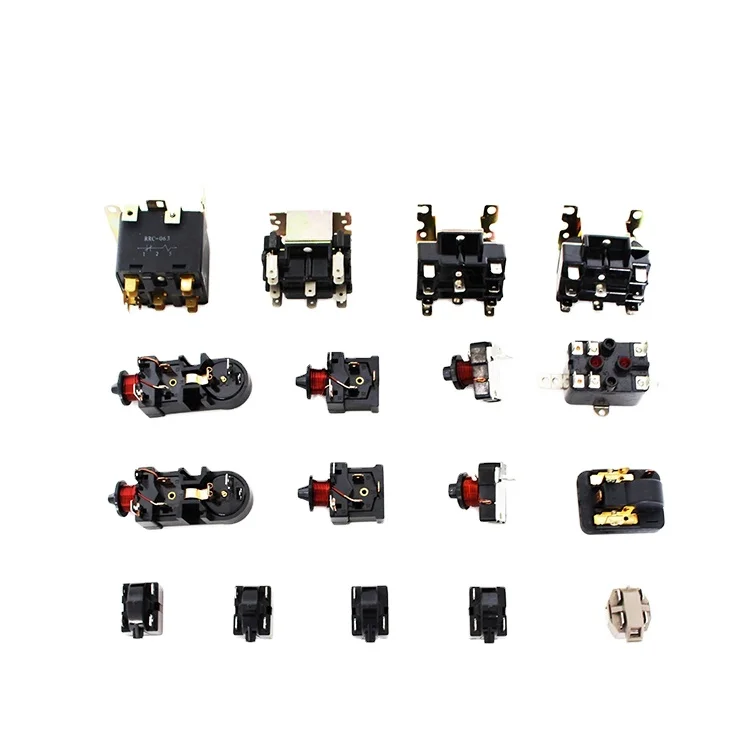
Use a multimeter to verify winding resistance against manufacturer specifications. Test for ground faults by checking continuity between terminals and the compressor casing. During startup, listen for delayed engagement or repeated clicking—common signs of relay or capacitor failure.
A 2021 IEEE study found misaligned pulleys increase motor bearing wear by 63%. Perform vibration analysis during operation to detect early-stage issues. Key indicators include:
Early detection prevents cascading mechanical failures.
Replace belts in matched sets to ensure balanced tension. Use laser alignment tools during installation—manual adjustments typically result in 0.8 mm deviations, which reduce efficiency and lifespan (based on belt system research). After installation, run the compressor for 15 minutes and monitor for abnormal belt temperature differences.
Preventive maintenance programs reduce compressor replacement costs by 31% (2024 industry analysis). Recommended practices:
Include inspection of motor mounts and electrical connectors in seasonal maintenance to prevent unexpected breakdowns.
Improper refrigerant levels impair cooling efficiency and increase energy use. Undercharged systems show weak cooling and prolonged compressor operation, raising electricity costs by up to 18%. Overcharged units face high pressure, risking component damage. Technicians use manifold gauges and subcooling/superheat calculations to verify charge levels against manufacturer specs.
Persistent refrigerant loss is often caused by pinhole leaks in evaporator coils or loose service valves. Effective detection methods include:
When combined, these methods achieve 92% accuracy in identifying leaks, according to HVAC maintenance benchmarks.
Moisture and non-condensable gases enter through improper evacuation or damaged lines. Moisture leads to ice formation at the expansion valve, while air reduces heat transfer efficiency. Corrective steps:
Conduct leak checks every six months to prevent 80% of contamination-related compressor failures.
Start by confirming the thermostat is set within the recommended range (typically 35–38°F for refrigerators). If cooling remains inconsistent, test for voltage continuity using a multimeter. A faulty thermostat may show erratic resistance or fail to activate the compressor—both require replacement to restore stable operation.
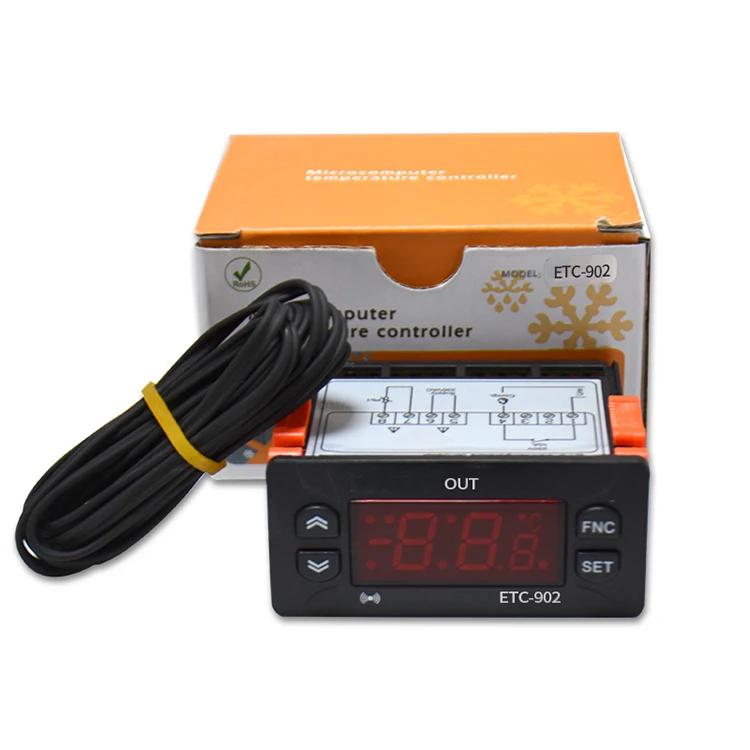
Sensors near the evaporator coils should maintain resistance within 5% of factory specifications. To test:
Access calibration mode via the control panel (refer to the user manual for model-specific instructions). Place a calibrated thermometer inside the fridge and compare readings. Adjust the calibration screw or digital offset until the display matches actual temperature within ±2°F.
When the evaporator fan starts going bad, it leads to patchy cooling throughout the space and eventually builds up frost on the coils. Homeowners should keep their ears open for strange clicking sounds coming from the unit and take a look at the fan blades to see if anything is stuck there. For those who want to test things out themselves, checking the motor's continuity makes sense. If there's an open circuit or the resistance reads over 30% higher than what's listed in the specifications, then replacement time has probably arrived. According to recent industry data, around two thirds of all service calls related to airflow issues actually stem from blocked ductwork or frozen vents. This happens quite often in older homes where maintenance gets neglected over time.
Frost often results from restricted airflow caused by dirty condenser coils or failed defrost components. Ensure coils are clean, as dust can reduce heat exchange efficiency by up to 30%. Check the defrost heater and bi-metal thermostat for continuity, and clear drain lines of ice to prevent moisture accumulation.
Monthly checks of door seals are important to catch any cracks, brittleness or gaps before they become problems. Try what some call the "paper test" - just shut the door on a dollar bill. If it slips right out without resistance, then it's time to replace that worn gasket. Weekly cleaning with some mild soap helps keep those seals free from dirt and grime that can mess up the seal completely. And here's something interesting: according to ASHRAE research from 2022, nearly a quarter of all energy losses in commercial refrigeration comes down to bad gaskets. That's pretty significant when we're talking about operational costs over time.
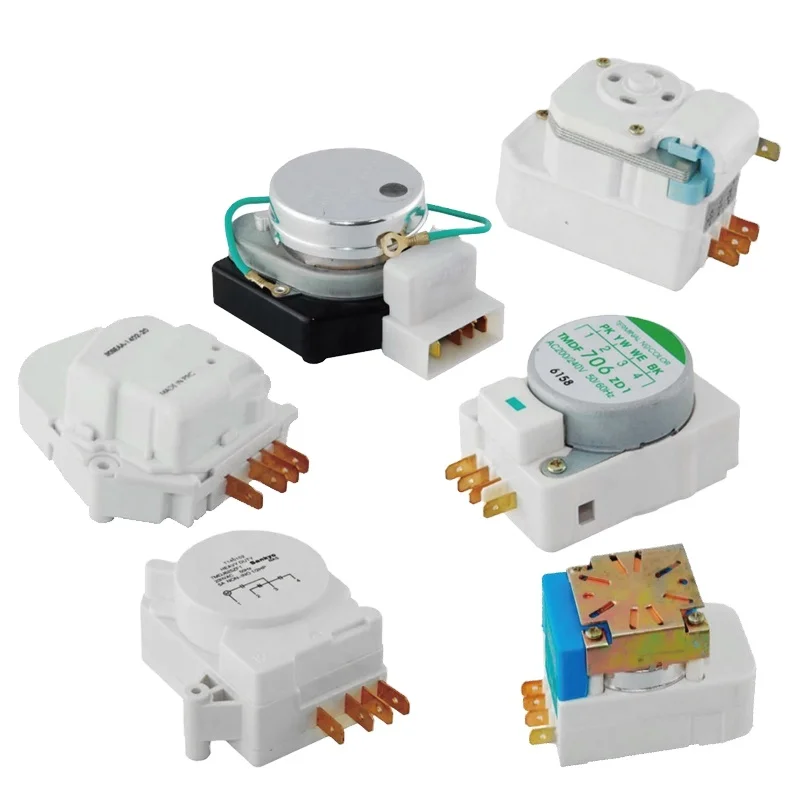
Test the defrost heater for continuity—resistance should be between 20–40Ω. Confirm the timer advances through defrost cycles and the thermostat closes at −15°F (-9°C). Failed heaters cause ice buildup on evaporator coils within 72 hours, reducing cooling capacity by 40%.
Locate the drain channel behind the evaporator coil and flush with warm water using a turkey baster. For stubborn clogs, use a flexible pipe cleaner soaked in baking soda solution. Monthly cleaning prevents microbial growth—82% of drain blockages contain mold spores that restrict airflow (2023 study).
A refrigerator condenser turns hot refrigerant gas back into liquid form through heat dissipation, enabling the refrigeration cycle to continue effectively.
Signs of a failing condenser include excessive heat, warm refrigerator compartments, and unusual noises like grinding or rattling.
It is recommended to clean the condenser coils annually to maintain optimal performance and prevent overheating.
Common causes include pet hair accumulation, dust-laden environments, and inadequate clearance around the condenser.
Moisture and air can enter through improper evacuation or damaged lines. To remediate, evacuate the system, replace the filter-drier, and recharge with the correct refrigerant.


 Hot News